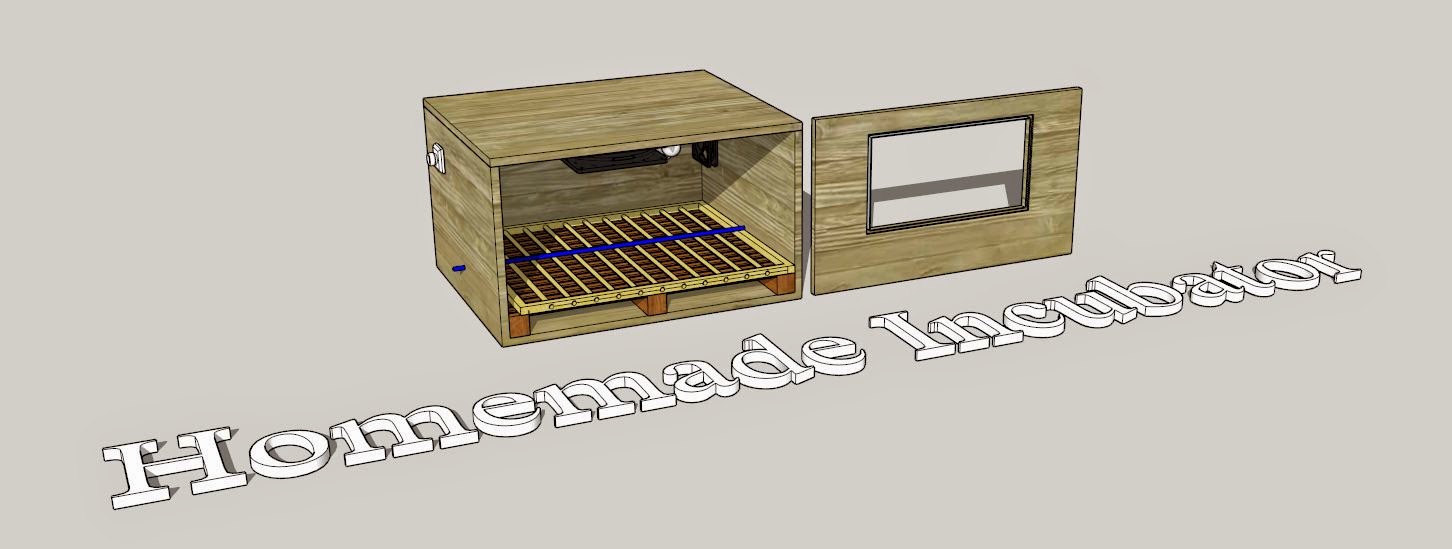
So... my first incubator had the water tray on the left side of the box in this build the water trays are placed on the bottom and i have moved the eggs upper.
Changes:
- water trays are placed on the bottom part of the incubator
- wooden support for the eggs to lift the eggs over the water trays
- the option to take out the tray that is pushing/pulling the eggs (rotate the eggs) after 18 days
- use only 1 light bulb (100W) because the box is smaller
- i've used more probes to have a better readings: temp / humidity


What i've done the same:
- the wooden box i've made it using the same method (with glue and screws)
- the edges are sealed with silicone
- the vent holes are on the top of the incubator
- the way how we rotate the eggs.
- the electrical part - the bulb is controlled using a light dimmer, the fans are powered with a 12V power supply.
What i'll do different:
- use a thermostat to have more control over temp.
- use a stepper motor to rotate the eggs
Now i'm learning how to use sketchup and this is my first project with this program )
I'm from Europe so the dimensions for the drawing are in mm not the real dimensions of my incubator (i'll update this post with the real dimensions).
If you what you can download the file from here : Worknig Link
Thanks for reading.
Hello I can not upload your file incubator.
ReplyDeletehi,
Deletei've updated the link (you should be able to download it now)
hello i can't download the file, can you repair the link?
ReplyDelete